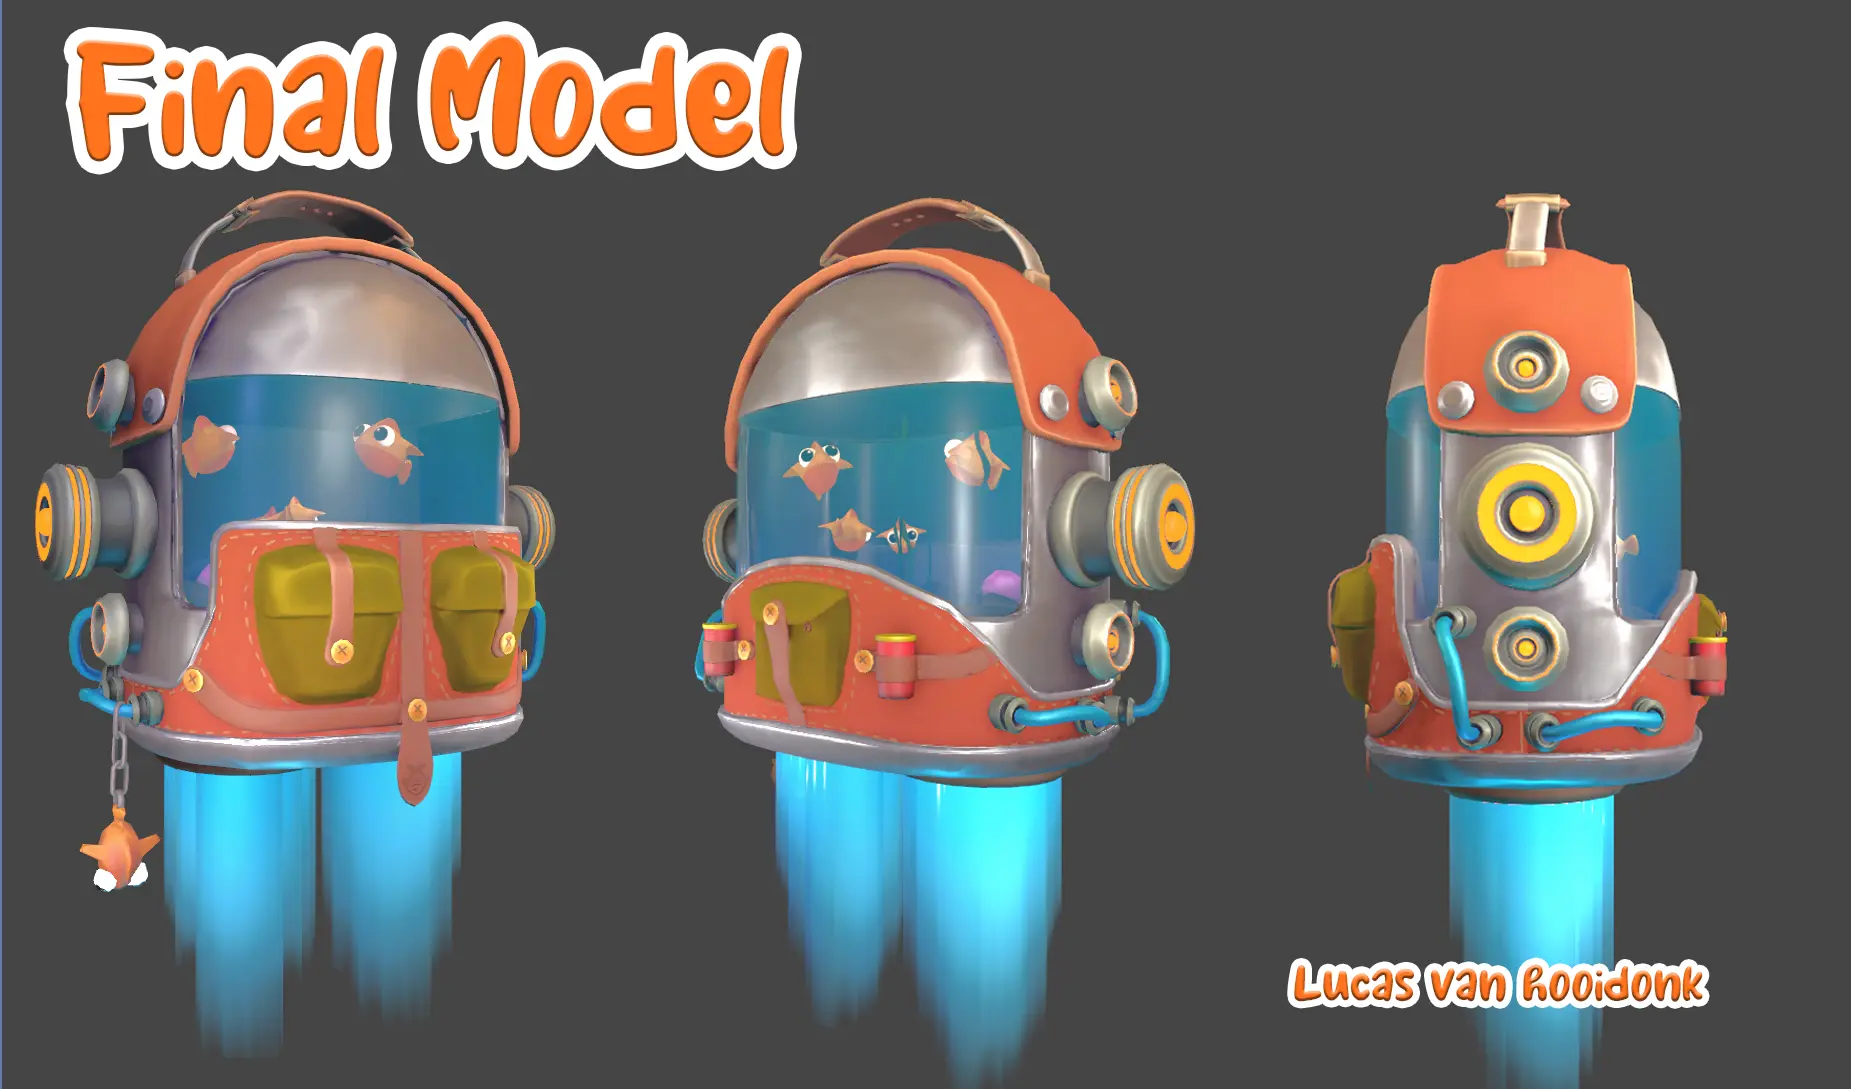
The Idea.
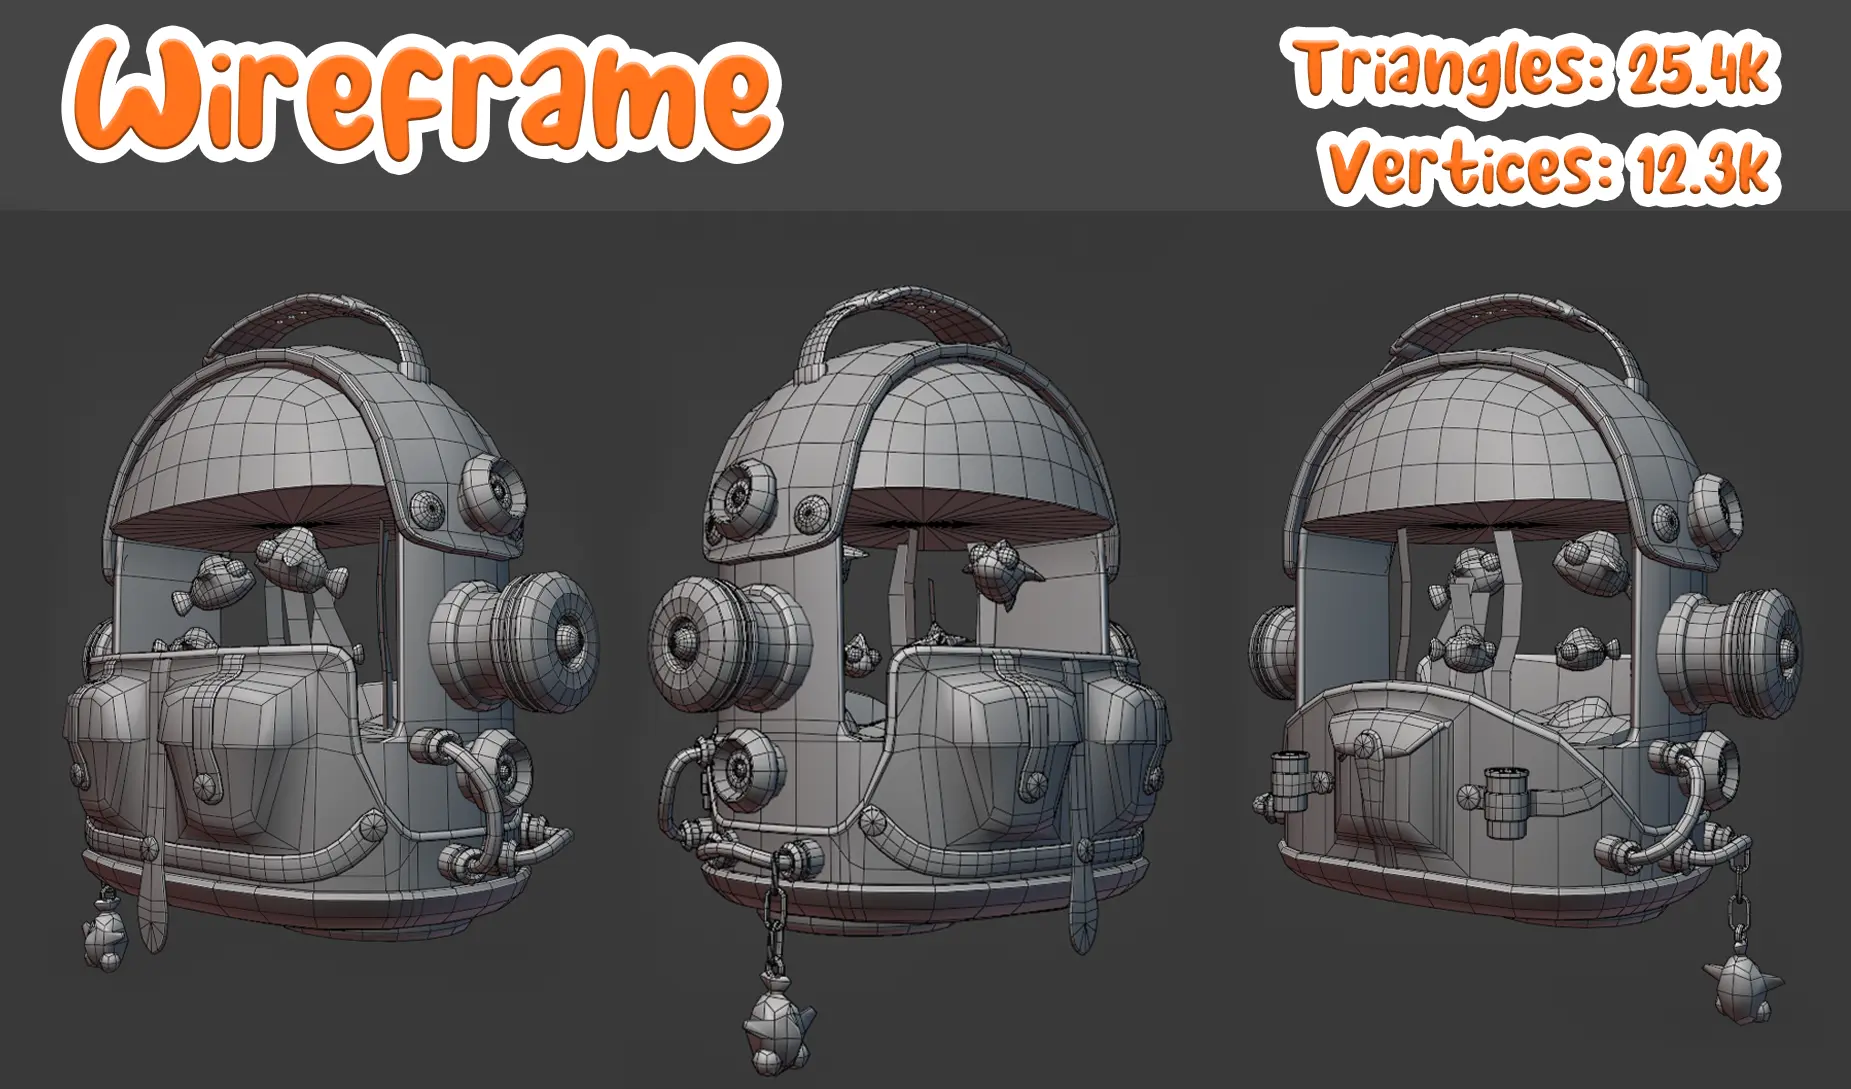
Since I usually end up doing the more technical work in group projects—like programming or setting up systems—I don’t always get a lot of time to focus on modeling. For this project, I wanted to challenge myself and make something fun and playful from start to finish. I came up with the idea of a stylized backpack aquarium—something a bit weird and imaginative, but also functional as a game asset. I modeled everything in Maya and ZBrush, keeping the shapes clean and stylized. Inside the aquarium are little fish swimming around, and I added small details like pouches, tubes, and dangling toys to give it more personality. The wireframe sits at around 25.4k tris and 12.3k verts, which is reasonable for a stylized prop in a real-time environment. After finishing the modeling, I textured it in a bold, colorful style to really push the playful look. It was a great break from my usual tech-focused work, and I had a lot of fun putting it all together.
Workflow
When I start modeling, I begin by blocking out the basic shapes and keeping everything very rough. Once the main forms are in place, I move on to adding details like smaller tubes and buttons—keeping them as simple as possible at this stage. After that, I refine the larger shapes, making sure to stay mindful of where I add extra edge loops to keep the polycount low, since I’m aiming for a stylized look. I then move on to the smaller details, adjusting their positions slightly to see what works best. I also make sure that anything meant to be symmetrical actually is, and that objects sharing the same UV space are properly overlapped. This is also the point where I go through the model to check for any holes or geometry issues that might cause problems later on.
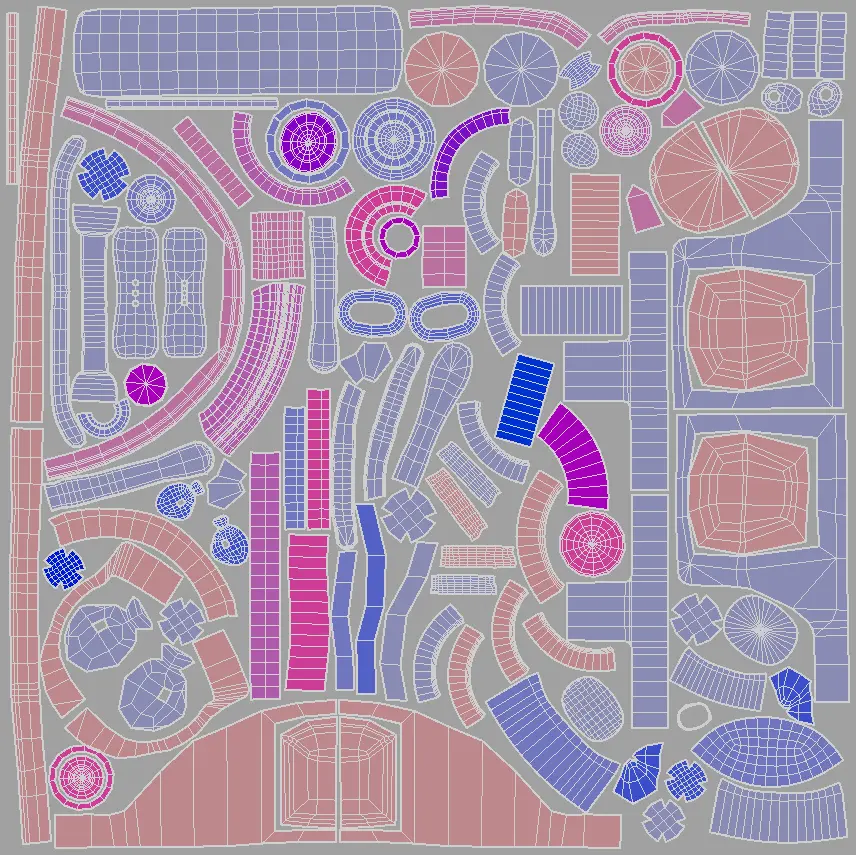
UV
After this is done I start Uving the model. I UV unwrapped the model in Maya, with clean, evenly distributed shells to make texturing easier later on. I kept distortion low and made sure important areas like the front, back and top panel had enough texture space to stay crisp.
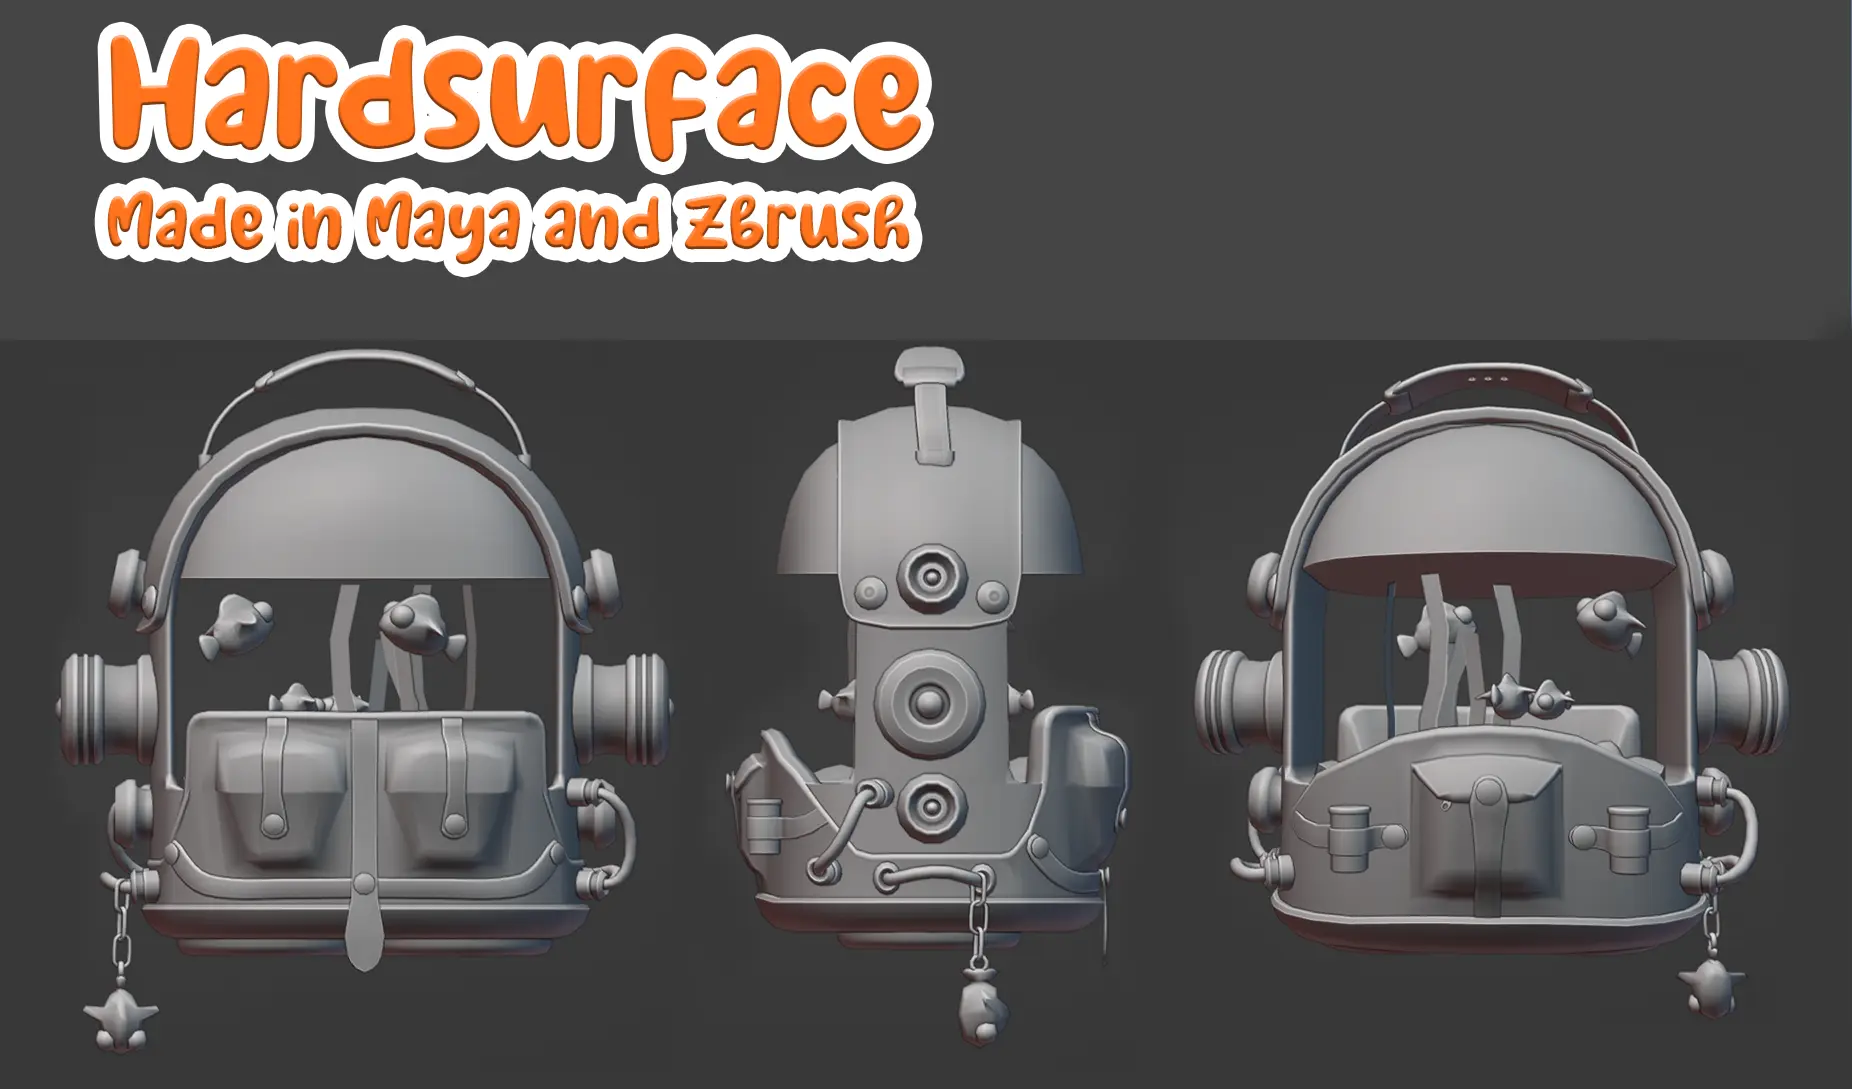
Zbrush & Substance
Once the model was finished, I brought it into ZBrush to sculpt some subtle details. I added surface variation to make the metal feel more believable and added seams along the base to give it a more handmade, assembled look. I also added a few small cuts and imperfections to break up the clean surfaces, and gave some extra attention to the buttons to make them stand out a bit more.
In Substance Painter, I started by baking the high poly onto the low poly model, experimenting with the settings to get the cleanest results. After that, I began blocking out the base colors using fill layers. I used generators to add extra ambient occlusion and gave the bottom parts of the model a slightly darker tone to enhance the stylized look. Once the main look was in place, I added smaller details and finished it off with a few hand-painted layers for that final touch of character.