Intro.
Dungeons & Dragons has been a big part of my life for the past two years. I play almost every other Sunday with four close friends. Since I love creating puzzles, stories, locations, and characters, it only made sense to start my own homebrew campaign—which we’ve now been playing consistently for the last two years.
At the moment, I’m working on a simple website for our DnD campaign. Since we use a lot of custom items, monsters, and characters, it can be hard to keep track of everything. This site acts as a central hub where I upload all of that content so my players can easily look things up later. It’s purely for personal use and is a constant work in progress as the campaign evolves.
Campaign link - Passwoord DnD!
Relevant.
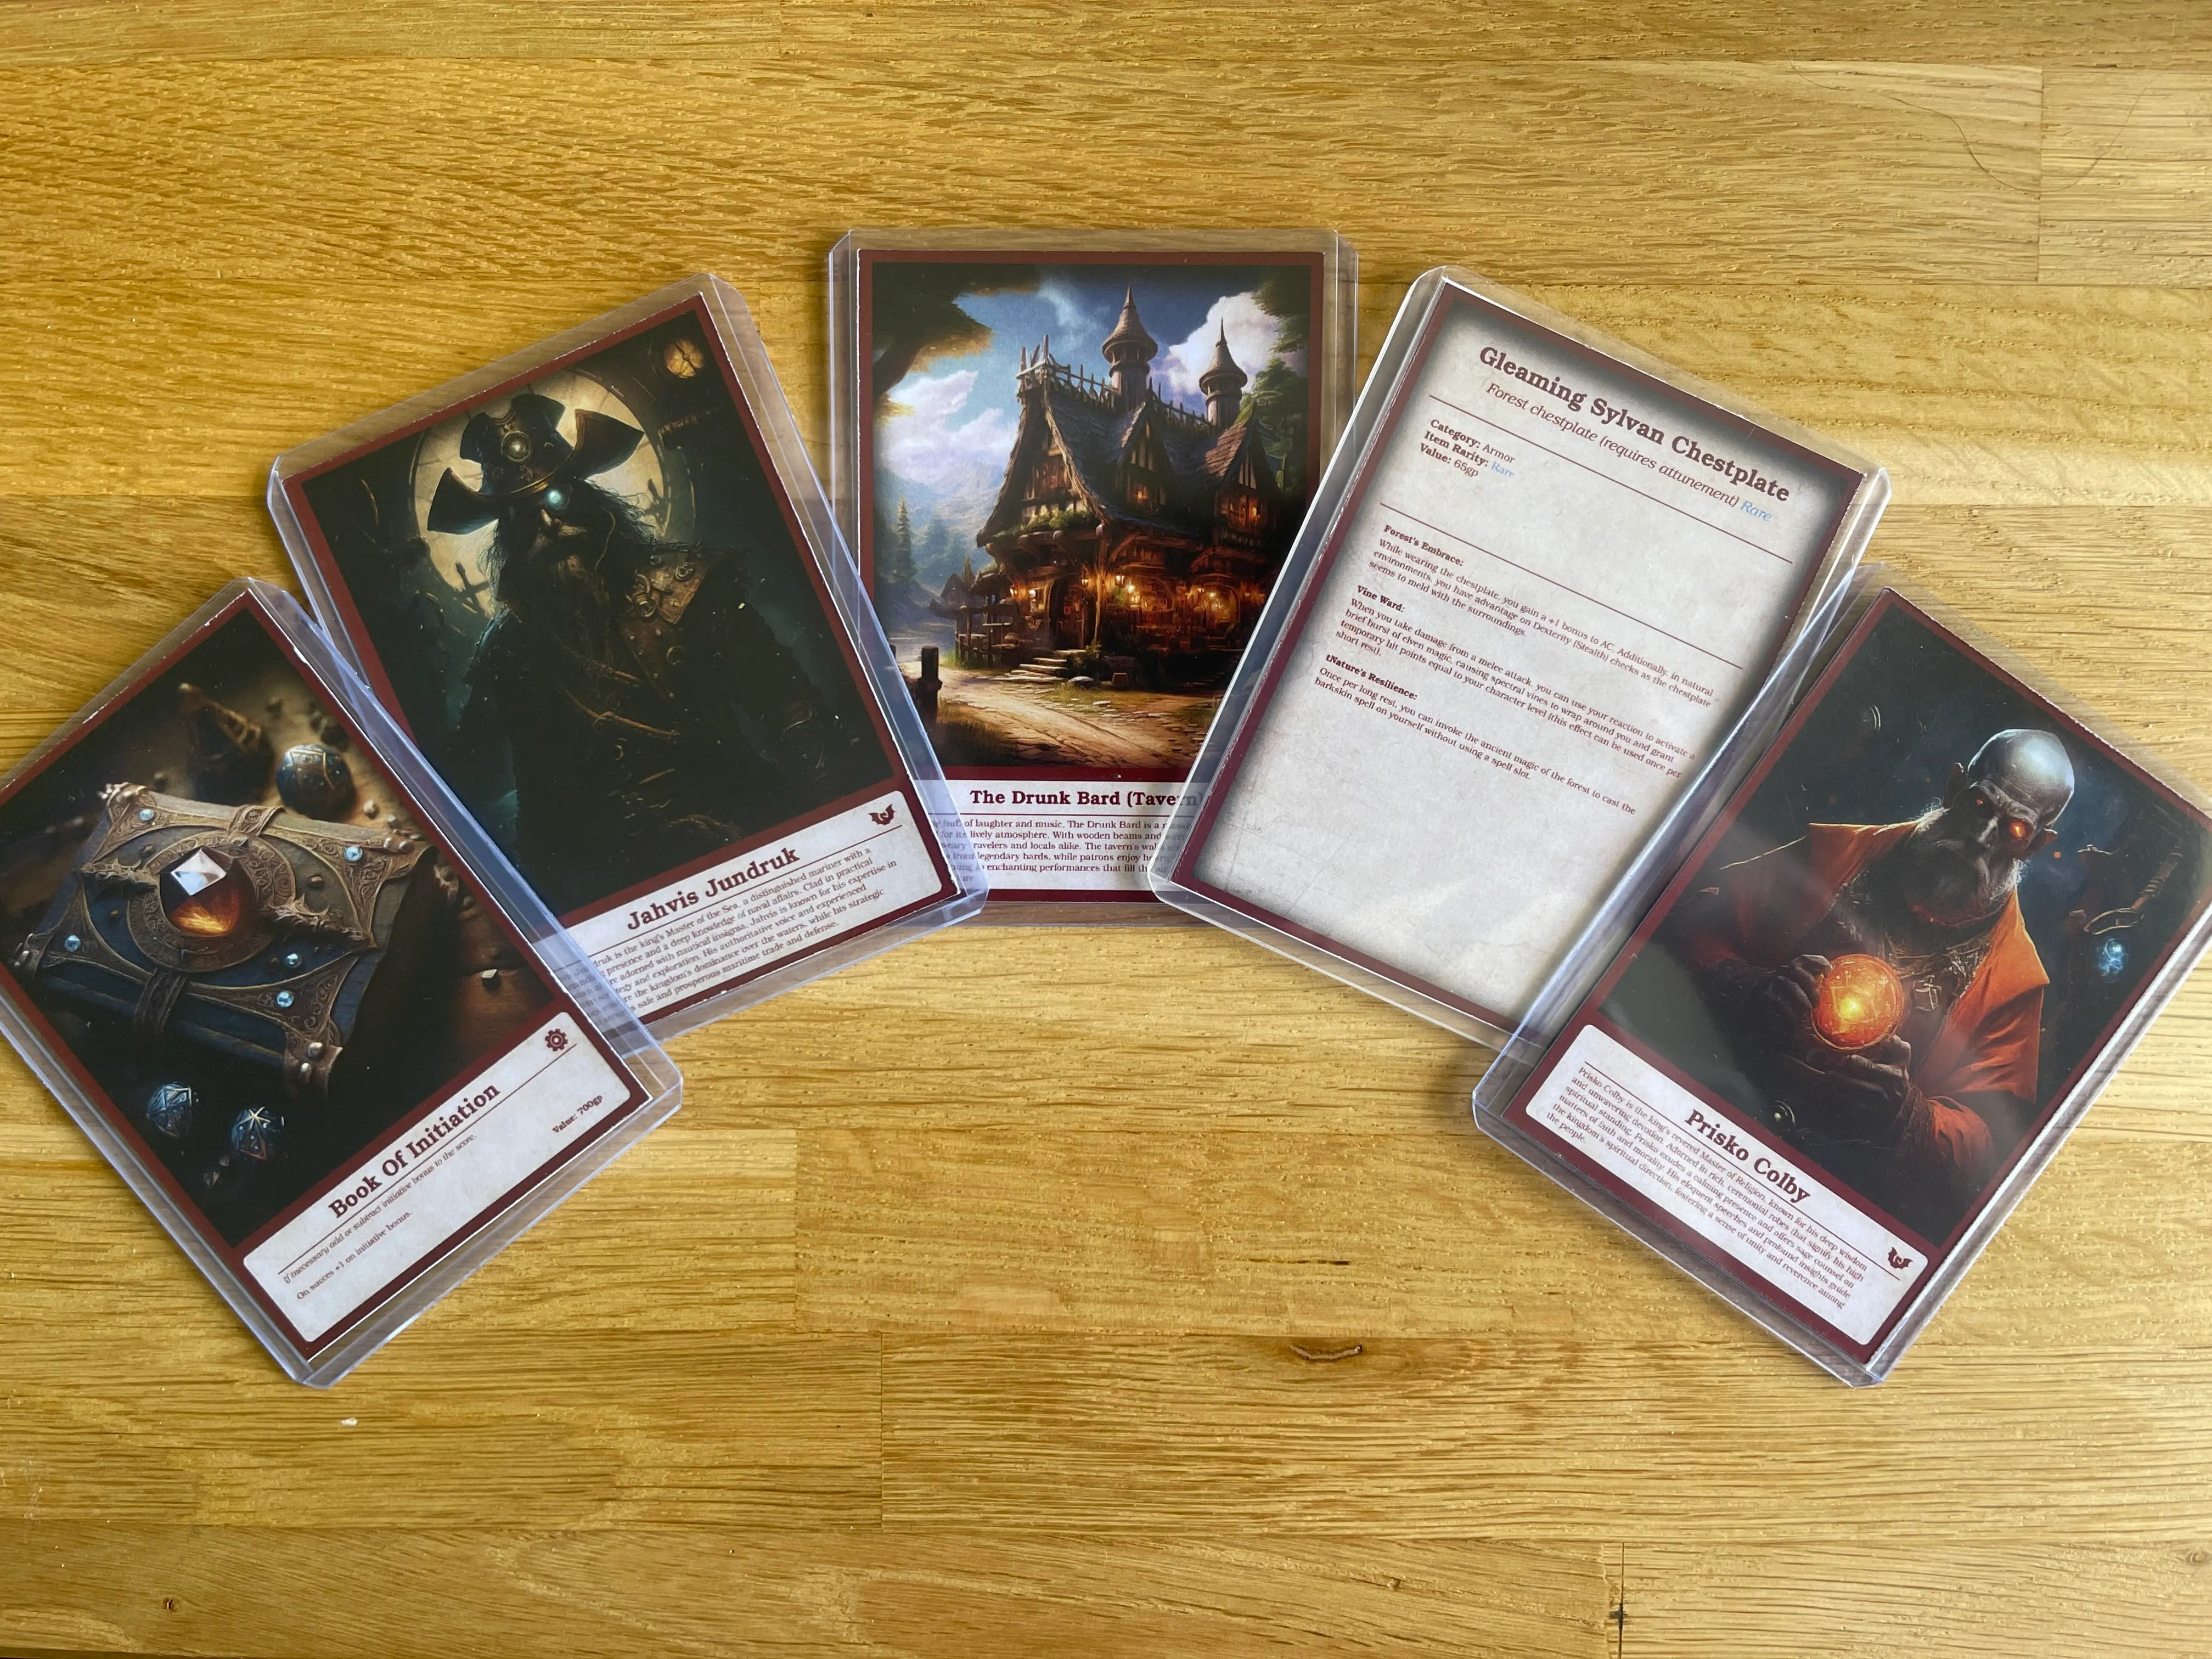
Before diving into the campaign itself, I want to highlight something more relevant to my game generalist portfolio. For our DnD campaign, I design and print custom cards that visually represent items, locations, monsters, and more. These cards are placed on the table or handed out to players to give them a clear idea of what they’re interacting with. It’s a small but effective way to support immersion, help with puzzle-solving, and act as a kind of passive perception aid—letting players pick up on details without needing everything spelled out.
I used to create these cards in Photoshop, using ChatGPT or Adobe Firefly to generate the images. But the process was time-consuming—copying everything in, searching for the right layers, and manually adjusting layouts each time. So, I decided to build a small Unity tool that allows me to create these cards much faster and more efficiently. It streamlines the process, making it easier to focus on design instead of layout fixes.
What it does.
I created some basic sprites to represent the card layout. Using buttons, input fields, and sliders, the user can visually customize the card—adjusting things like text, icons, and border color. I also added a Save Color button that stores the selected border color, which is automatically loaded the next time the application is opened.
Next, I added Open Image and Export buttons. For these, I used an existing GitHub package that I modified to fit my project. The Open Image button launches the system’s file explorer and lets you select an image, which is then properly scaled and placed onto the white canvas. Once the card is finished, you can press Export, which again opens the file explorer and allows you to save the final card image—just like in any standard design software.
Now for the exciting part: without using any external packages, I managed to integrate ChatGPT's image generation directly into the project. To use it, the user simply enters their OpenAI API key, types a prompt into the input field, and presses Generate Image. The tool then connects to the user’s ChatGPT account, generates the image in the correct format, and places it directly onto the canvas—ready to be used in the card layout.
Now, Lets continue...
to be continued... You can check the campaign website if you are really curious!